Introduction
Updates keep our devices secure and add features, but sometimes they bring a side effect: lag. In this guide, you’ll learn why performance can drop after an update and practical, low-risk steps you can take—starting with quick restarts and finishing with driver checks and system-level fixes. Use these steps in order (fast fixes first) to get your device responsive again.
Why Lag Happens After OS Updates
OS updates do more than change a few files — they often run background jobs, change system settings, replace drivers, and alter how apps interact with hardware. Common causes of post-update lag include:
- Background optimization tasks (indexing, shader compilation, app migrations) consume CPU, disk, or I/O.
- Driver or firmware mismatches — new OS code can expose incompatible drivers.
- App incompatibility — third-party apps may not be optimized for the new OS version.
- Cached or corrupted temporary files leftover from the update process.
- New default power/performance profiles that favor battery or stability over performance.
- Rare update bugs that cause memory leaks, CPU spikes, or UI slowdowns.
- Hardware limits — older machines may struggle with a newer OS that expects faster storage, more RAM, or better GPUs.
Importance of Fixing Performance Issues
Leaving lag unaddressed affects more than speed: it undermines productivity, increases power use and heat (which shortens component life), can block important background maintenance, and sometimes exposes you to security gaps if you delay restarts or secondary updates. Fixing performance quickly gets your device back to normal and helps you spot genuine update bugs early.
Restart Your Device
Always start here — a proper restart often resolves transient issues left over from the update process.
- Close your apps and choose Restart (don’t just sleep/wake).
- If the system still feels sluggish, do a full shutdown, wait 20–30 seconds, then power back on.
- For phones/tablets: power off, wait 10 seconds, power on.
Why this works: restarting clears RAM, finishes pending installs, and allows services to relaunch cleanly.
Clearing Temporary Glitches
Temporary and cached files can become inconsistent after updates. Clearing them is a low-risk way to remove one common source of lag. Typical steps:
- Windows: Run Disk Cleanup or Settings → Storage → Temporary files, clear Windows Update temporary files and cache.
- macOS: Restart, then use Finder → Go → Go to Folder
~/Library/Cachesto remove app caches you trust (or use a cleanup app). - Android: Settings → Storage → Cached data or clear cache per app.
- iOS: Offload/reinstall problematic apps (Settings → General → iPhone Storage).
Always avoid deleting system files; stick to caches and temp folders or use built-in cleanup tools.
Completing Background Processes
After an update, the system performs tasks like driver installs, component registration, and database migrations. These can keep the CPU/disk busy and make the UI lag. How to handle it:
- Open Task Manager (Windows) or Activity Monitor (macOS) to see CPU, disk, and memory usage.
- Look for high disk/CPU usage from processes like
Windows Modules Installer,msedgewebview2(or similar),mds/mdworker(macOS indexing), or installer processes. - If an install-related process is running, let it finish rather than interrupting it. If it’s stuck (100% for hours), note the process name and continue with other fixes (e.g., restart or safe mode).
Wait for Background Processes to Finish
Patience is a valid fix. Minor updates often finish background tasks within minutes; major feature upgrades may take longer. General guidance:
- Minor/patch update: expect 5–30 minutes of background activity.
- Major feature update: allow 1–3 hours for indexing, optimization, and app updates—sometimes up to 24 hours for full background tuning (especially on older hardware).
Indicators that things are finishing: CPU/disk usage drops,Search/Spotlight reports are responsive, and no installer processes are running in Task Manager/Activity Monitor.
Indexing and System Optimization
Search indexes (Windows Search, macOS Spotlight) and system optimizers rebuild after updates — that’s normal and can use a lot of I/O. What to know and do:
- Indexing improves search and file access once complete, but slows the system while running.
- To check indexing: Windows Search index status is visible in Settings → Search → Searching Windows; macOS Spotlight indexing shows a dot in Spotlight, or you can check
mds/mdworkerin Activity Monitor. - If indexing never finishes or is stuck, you can pause or rebuild the index from search/index settings (Windows) or use
sudo mdutil -E /on macOS to rebuild Spotlight (advanced users). - Rebuilding helps if the search is slow or the indexing is corrupted, but it will temporarily increase disk activity.
How Long You Should Wait
A more precise rule-of-thumb to set expectations for your readers:
- Quick fix: 5–30 minutes — restart, let standard optimization finish.
- Normal case after a major update: 1–3 hours of background work (indexing, driver setup, app updates).
- Worst case (old hardware or big feature upgrades): up to 24 hours for all background tasks to settle.
If the device remains slow beyond these windows, move to active fixes like driver updates or safe-mode troubleshooting.
Check for Additional Updates
Manufacturers and OS vendors often push follow-up patches after major updates. Always re-check for updates right after installing an OS upgrade:
- Windows: Settings → Update & Security → Check for updates (look for optional driver updates too).
- macOS: System Settings → General → Software Update (also check App Store updates).
- Linux: Run your distro’s update manager or package manager.
- Mobile: Check Google Play / App Store for app updates and your device’s System Update settings for incremental patches or vendor firmware updates.
Applying these follow-up updates often resolves performance regressions introduced by the initial update.
Bug Fix Patches
If performance drops are caused by bugs in the OS itself, expect the vendor to release bug-fix patches quickly. Tips for readers:
- Monitor update release notes and vendor support forums for known performance issues.
- Install cumulative or hotfix updates as they appear — these often target regressions reported by early adopters.
- If a specific update causes severe problems, check the vendor’s guidance: sometimes they provide temporary workarounds or rollback options.
Updating System Components
Drivers, firmware, and key system components are frequent culprits. Make sure these are current and compatible:
- Graphics drivers: update via your GPU vendor (NVIDIA/AMD/Intel) or through the OS update mechanism.
- Chipset, storage, and network drivers: get stable versions from your PC/laptop manufacturer if available.
- BIOS/UEFI and firmware: check the manufacturer’s site — firmware updates can resolve low-level performance and compatibility issues (backup first).
- Apps and runtimes: update important apps (especially security software, virtualization tools, and utilities that integrate deeply with the OS).
Recommend readers back up important data before firmware/BIOS updates and prefer vendor-supplied driver packages for laptops (they’re tested for your model).
Update or Reinstall Drivers
Drivers are the software that lets your OS talk to hardware (GPU, storage, network, audio, etc.). After an OS update, a driver that used to be fine can become the bottleneck — causing high CPU usage, stuttering, slow disk access, or crashes. Updating or, if necessary, reinstalling drivers is one of the most effective ways to restore smooth performance.
When to reinstall instead of update: if a driver update doesn’t fix the issue or makes things worse, fully uninstall the driver (use Device Manager on Windows or vendor uninstall tools) and then install a fresh copy.
Importance of Compatible Drivers
- Stability: compatible drivers avoid crashes, freezes, and kernel-level faults.
- Performance: updated drivers often include performance tuning and bug fixes for the latest OS.
- Feature support: new OS features sometimes require newer driver APIs (graphics, NVMe, power management).
- Security: driver updates can close low-level vulnerabilities.
Always prefer drivers tested for your specific device model (OEM laptop/desktop vendor drivers) when available.
How to Update Drivers Safely
- Create a restore point/backup: before driver or firmware changes, create a system restore point (Windows) or a Time Machine backup (macOS).
- Use vendor channels first: check your PC/laptop manufacturer’s support page for recommended drivers for your exact model. For GPUs, use NVIDIA/AMD/Intel official drivers.
- Windows Update & Optional Drivers: Windows Update can deliver driver updates; also, check “Optional updates” for manufacturer drivers.
- Clean install when required: GPU installers often offer a “clean install” option to remove old driver remnants. Use it if you suspect corruption.
- Avoid unofficial driver sites: only download drivers from official vendor/manufacturer sites to reduce risk.
- Roll back if needed: if an update causes problems, roll back the driver in Device Manager (Windows) or reinstall the previous package.
- Firmware/BIOS caution: for BIOS/UEFI or firmware updates, follow vendor instructions exactly and ensure the device is on stable power (plugged in). Back up data first.
These steps minimize the chance a driver update introduces new problems while maximizing the chance it removes the lag source.
Free Up Storage Space
Low free disk space — especially on system drives — causes the OS to struggle with virtual memory, temp files, and updates. Freeing up space can significantly improve responsiveness.
Quick wins: remove large unused files, empty the recycle bin, uninstall apps you don’t use, and move media to external/cloud storage.
Removing Temporary Files
- Windows: Settings → System → Storage → Temporary files (or run Disk Cleanup). Remove Windows Update cache and temporary installer files if safe.
- macOS: Restart, then remove safe caches via Finder → Go →
~/Library/Caches(only app caches you recognize) or use built-in storage recommendations (Apple menu → About This Mac → Storage → Manage). - Linux: Clear package caches (
sudo apt cleanordnf clean all) and check/tmp. - Mobile: Clear app caches (Android: Storage → Cached data or per-app clear cache; iOS: offload unused apps).
Warn readers to avoid deleting files they don’t recognize — stick to caches, temporary files, and user downloads.
Managing Disk Space Efficiently
- Use built-in tools: Storage Sense (Windows) or Storage Management (macOS) to automatically clean temp files and old installers.
- Uninstall rarely used apps: check size and last-used date before removing.
- Move large media to cloud or external drives: photos, videos, and ISO files are common space hogs.
- Compress or archive: archive old project folders as ZIPs or use compressed filesystems where appropriate.
- Monitor disk health: a failing drive can behave slowly; check SMART status and consider cloning to an SSD if the drive is old.
Disable Unnecessary Startup Programs
Many apps auto-launch at boot and consume memory and CPU, increasing boot time and making the desktop slow immediately after login.
How to approach: keep only essential services at startup (antivirus, cloud drives you actively use). Disable chat apps, helper utilities, or vendor updaters you don’t need to run all the time.
Identifying Resource-Heavy Apps
- Windows: open Task Manager (Ctrl+Shift+Esc) → sort by CPU, Memory, Disk to find culprits.
- macOS: Activity Monitor → inspect CPU, Memory, Energy, Disk.
- Linux: use
top,htop, or GNOME System Monitor. - What to look for: apps with sustained high disk or CPU usage, processes that spike repeatedly, or helpers that spawn many child processes.
Once identified, update the app, disable unnecessary features (like high-frequency syncing), or remove/replace it with a lighter alternative.
Improving Boot Time and Performance
- Trim startup items: disable nonessential startup apps in Task Manager (Windows) or Login Items (macOS).
- Enable fast/quick boot features: Windows Fast Startup can help (but be aware it behaves like a hybrid shutdown), and modern UEFI settings sometimes have fast-boot options.
- Use an SSD: moving your OS to an SSD is the single most effective hardware upgrade for boot and app-launch speed.
- Keep firmware up to date: storage and chipset firmware updates can fix slow boot issues.
- Reduce animations and visual effects: this lowers GPU and CPU load on login and in daily use.
Adjust Power Settings
Power plans control CPU frequency scaling, disk spin-down, and other behavior that affects performance and battery life. On desktops, prioritize performance; on laptops, balance based on usage.
Where to change:
- Windows: Control Panel → Power Options or Settings → System → Power & battery.
- macOS: System Settings → Battery → Options (and use “Energy Saver” on older macOS).
- Linux: Use GNOME Power Profiles
tlpfor laptops.
Switching to High Performance Mode
- Windows: open Power Options → select High performance or create a custom plan that sets the minimum processor state higher and disables aggressive sleep on disks.
- macOS: macOS doesn’t expose a named “High Performance” mode, but setting “Prevent computer from sleeping automatically when the display is off” and disabling App Nap for heavy apps helps. On MacBooks, use the “Battery” settings and keep the device plugged in for max performance.
- Linux: switch to Performance CPU governor (
sudo cpupower frequency-set -g performance) or use your desktop’s power profile.
Remember: high-performance modes increase power draw and heat — recommend using them when plugged in or for short troubleshooting sessions.
Optimizing Battery vs Performance
Finding the right balance depends on device type and priorities: battery life for mobile work, performance for heavy tasks.
Guidance for readers:
- For day-to-day use: use a balanced profile that scales CPU with load; enable adaptive battery or low-power features when on the go.
- For demanding tasks (editing, gaming, VMs): switch to high-performance mode while plugged in.
- Thermals matter: throttling due to heat can mimic lag — keep vents clear, use a cooling pad for laptops, and consider cleaning dust buildup.
- App-level settings: many apps (browsers, IDEs, VMs) have power/performance options — tune them before global changes.
- Automate switching: on some platforms, you can auto-switch profiles when plugging/unplugging power; encourage readers to enable that for convenience.
Got it — here’s a single polished, ready-to-publish block covering each of those final sections. You can drop this straight into your blog.
Scan for Malware or Issues
Lag after an update isn’t always the OS — malware, PUPs (potentially unwanted programs), or corrupted system files can quietly eat CPU, disk I/O, memory, or network bandwidth. Always run a full, deep scan before assuming the update is the root cause.
Steps
- Run a full system scan (not a quick scan) with your primary security tool.
- Check Task Manager / Activity Monitor for unfamiliar or persistently high-usage processes.
- Inspect startup items and background services for apps you don’t recognize.
- If you see unexplained network or disk traffic, dig into which process is responsible.
Using Built-in Security Tools
Built-in security tools are low-friction, well-integrated, and updated automatically — a great first line of defense.
What to run
- Windows: Windows Security → Virus & threat protection → Full scan (use Offline scan for rootkits).
- macOS: Built-in XProtect/Gatekeeper handles most threats; use Activity Monitor and Recovery-mode utilities for deeper checks.
- Linux: Install and run
clamav, and userkhunter/chkrootkitfor rootkit checks. - Mobile: On Android, use Play Protect and review app permissions; on iOS, remove suspicious profiles or apps.
After detection
- Quarantine/remove items, reboot, and re-scan.
- Run system repair tools if system or library files are flagged (SFC/DISM on Windows, Recovery on macOS, package repair on Linux).
Third-Party Antivirus Options
If built-ins don’t find anything or you want extra assurance, reputable third-party scanners can catch adware, PUPs, and edge-case threats.
Guidance
- Use a well-known vendor (Bitdefender, Malwarebytes, Norton, Kaspersky, etc.).
- Prefer one real-time AV engine + one on-demand scanner — don’t run two real-time engines simultaneously.
- Consider a bootable rescue scanner for stubborn infections.
- After cleaning, reboot and validate performance before continuing other troubleshooting.
Reset or Reinstall the OS
When software fixes, driver updates, and malware scans don’t help, resetting or reinstalling the OS provides a clean baseline — it removes corruption, bad configs, and persistent pests.
Options
- Reset/Refresh: Reinstalls system files while keeping (or optionally removing) user data — quicker and less disruptive.
- Clean install: Wipes the system drive and installs a fresh OS — best for removing long-term cruft or severe corruption.
- Factory reset (mobile): Restores original firmware and settings; often the most reliable mobile fix.
Precautions
- Back up everything important first (see Backup section).
- Make recovery media and confirm you can boot to it.
- Collect license keys and installers for apps you need to reinstall.
- Have network drivers available if the reinstall requires them to reconnect.
When to Consider a Reset
Consider a reset or clean install if any of these apply:
- The system remains sluggish after trying all software fixes.
- Multiple core services crash or fail repeatedly.
- Filesystem corruption is present, or errors appear in logs.
- You suspect a deeply embedded infection or rootkit.
- You’re preparing the device for transfer/resale and want a clean state.
Backup and Recovery Tips
Never perform major system operations without a tested backup strategy.
Quick backup checklist
- Follow 3-2-1 where practical: 3 copies, 2 media types, 1 offsite.
- Back up Documents, Photos, Email archives, browser bookmarks, and app data not synced to the cloud.
- Export app settings and store license keys in a password manager.
- Create a full disk image if you want a simple rollback path.
- Make bootable recovery media and verify it boots before wiping.
Recovery planning
- Know your account credentials and recovery codes (Microsoft, Apple ID).
- Keep a copy of network drivers so you can reconnect after reinstall.
- Test restoring a small file from backup so you trust the process.
Check Hardware Limitations
If software looks healthy but performance is poor, hardware constraints are often the cause.
Common bottlenecks
- HDD vs SSD: HDDs are slow for random I/O; SSDs give large responsiveness gains.
- Insufficient RAM: Frequent paging hurts performance.
- Thermal throttling: Dust, failing fans, or old thermal paste cause throttling.
- Aging/failing drives: Degraded drives are slower and error-prone.
How to diagnose
- Monitor CPU, memory, and disk utilization while reproducing the lag.
- Check SMART for drive health and run a basic benchmark if needed.
- Observe temperatures and fan behavior under load.
- Boot from a live USB to isolate hardware from the installed OS.
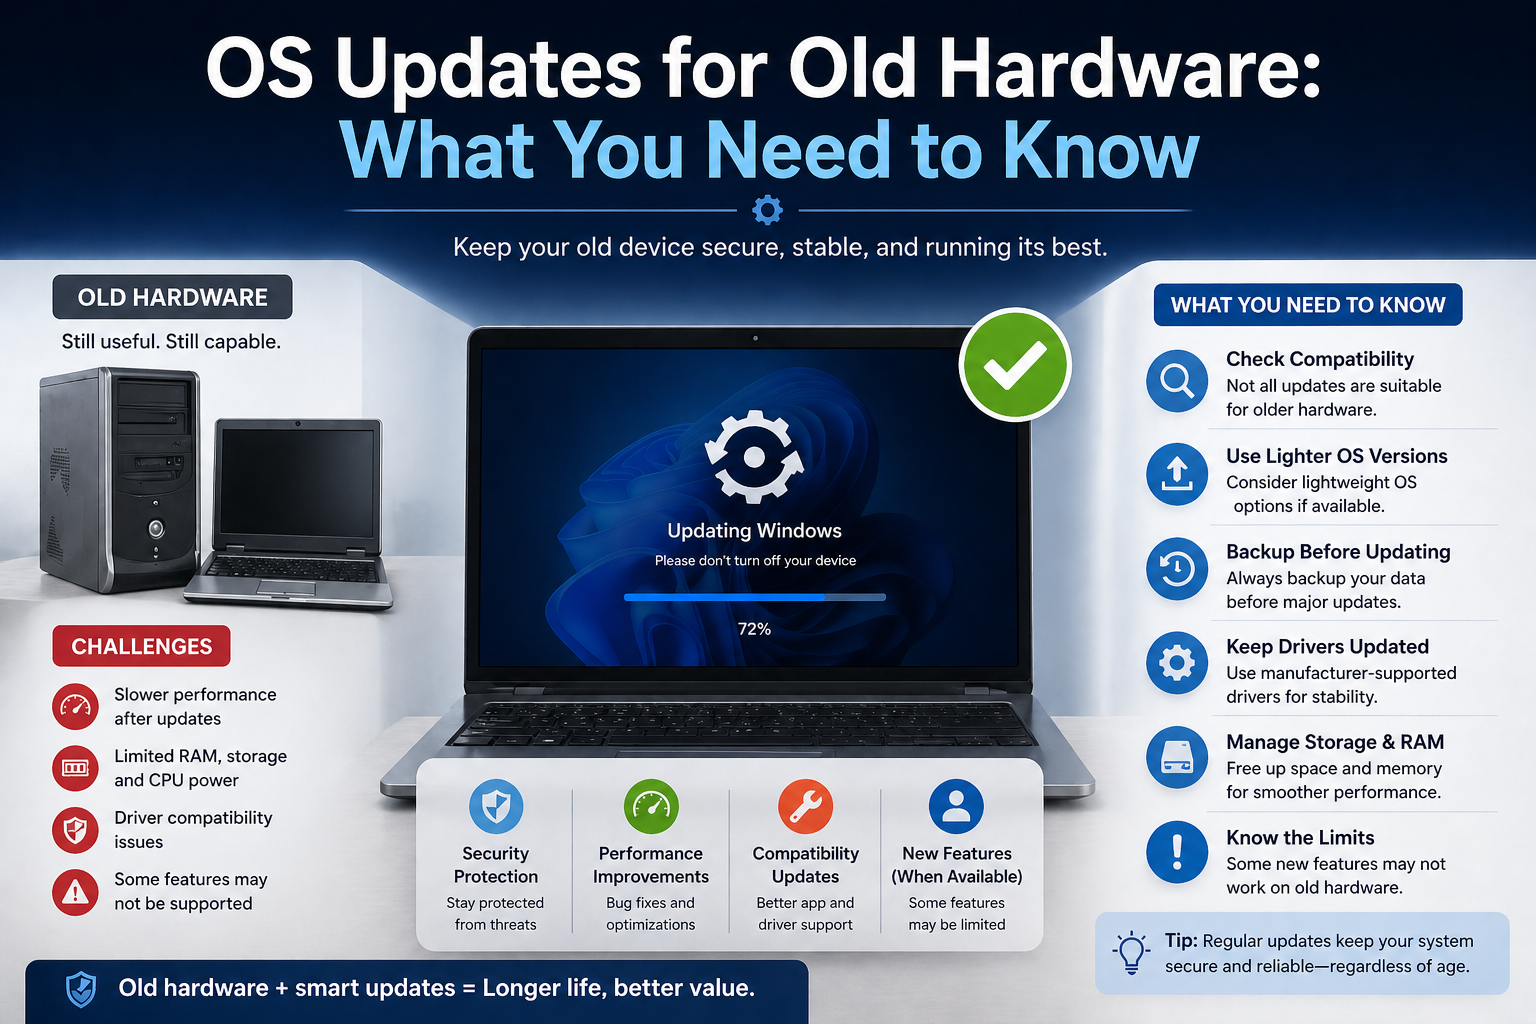
Impact of Older Devices
Major OS upgrades may expect faster storage, more RAM, or newer instruction sets — older devices can work, but with reduced responsiveness.
What to expect
- Slower app launches, longer file operations, and more frequent paging.
- UI stutters and reduced multitasking headroom.
- Shorter battery runtimes and higher idle power draw on aged hardware.
Practical advice
- Lighten the software footprint: disable animations, minimize startup apps, and choose lighter-weight apps.
- If the device is ~5–7+ years old, plan for targeted upgrades or replacement depending on budget and needs.
When to Upgrade RAM or Storage
Small hardware upgrades often yield big user-experience wins.
Best-impact upgrades
- Install an SSD: the single most effective improvement for boot and app launch speed.
- Add RAM: if average memory usage approaches installed RAM, increasing it reduces paging.
- Replace a failing HDD: swap for an SSD or a healthy, newer drive.
Practical notes
- Verify the maximum supported RAM and form factor before purchasing.
- Check if the device allows user upgrades (some laptops have soldered RAM).
- Consider cloning the old drive to the new SSD to preserve settings and apps.
Conclusion
Post-update lag is usually solvable. Start with low-risk fixes (restart, wait for background tasks, clear caches), then move to driver updates, scans, and storage cleanup. If problems persist, evaluate hardware limits and consider a reset or targeted hardware upgrades. A methodical approach gets devices back to smooth performance quickly.
Summary of Key Fixes
- Restart and allow background optimization to finish.
- Free up system drive space and clear temporary files.
- Update or reinstall drivers and check firmware.
- Scan with built-in tools, then use trusted third-party scanners if needed.
- Disable unnecessary startup apps and identify resource-heavy processes.
- Use high-performance power settings when troubleshooting (while plugged in).
- Check hardware health (SMART, temps, RAM) and boot from live USB to isolate issues.
- Reset or clean-install the OS if every other option is exhausted.
- Upgrade to SSD/add RAM if hardware is the bottleneck.
- Back up before major changes and create recovery media.
Final Tips for Smooth Performance
- Run periodic maintenance: disk cleanup, driver checks, and security scans.
- Delay major feature updates on critical machines until they’ve proven stable.
- Keep thermal paths clean and replace old thermal paste or fans if needed.
- Use lightweight alternatives for resource-heavy apps when on older hardware.
- Consider a fresh OS install every few years as preventative maintenance for long-lived devices.